.
Well Hi Chris... progress!
So I thought I would take up baking, and into the mix goes…
Balanced 63mm crank, with some H beam rods and special pistons that will come in the story later, lots of balancing holes as the rod and piston combination is much lighter… this is all pre cleaning…
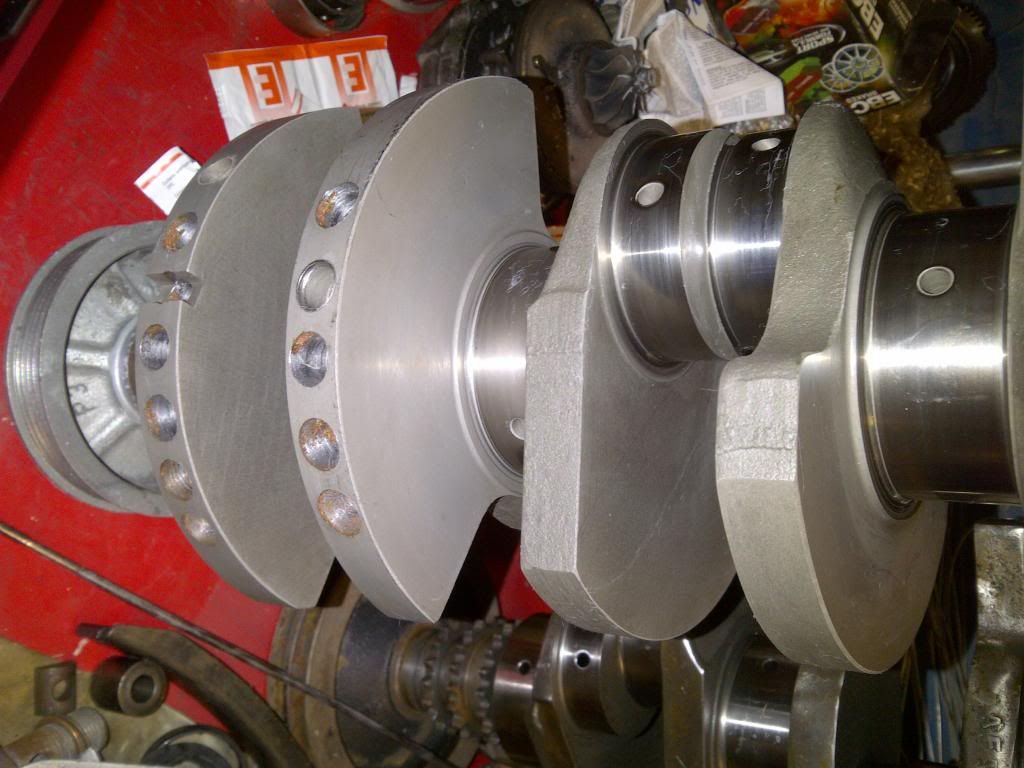
Rub rub..
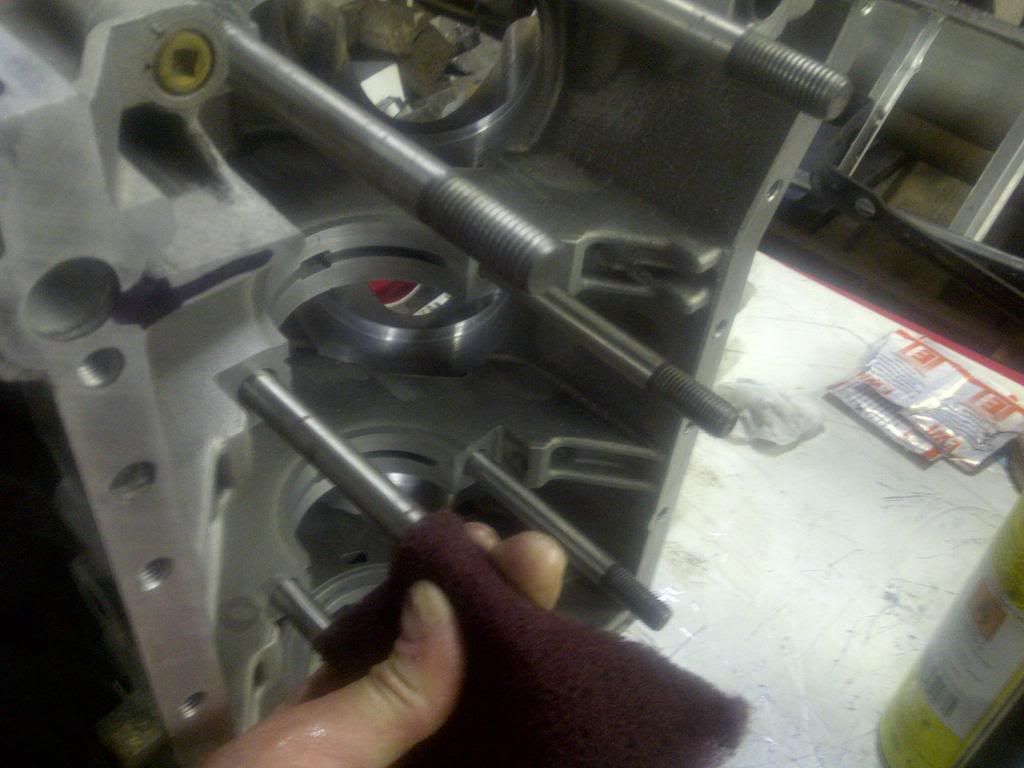
tap tap.. trusty blunt tap for thread cleaning, want those head bolt stretch / strains to be consistent…
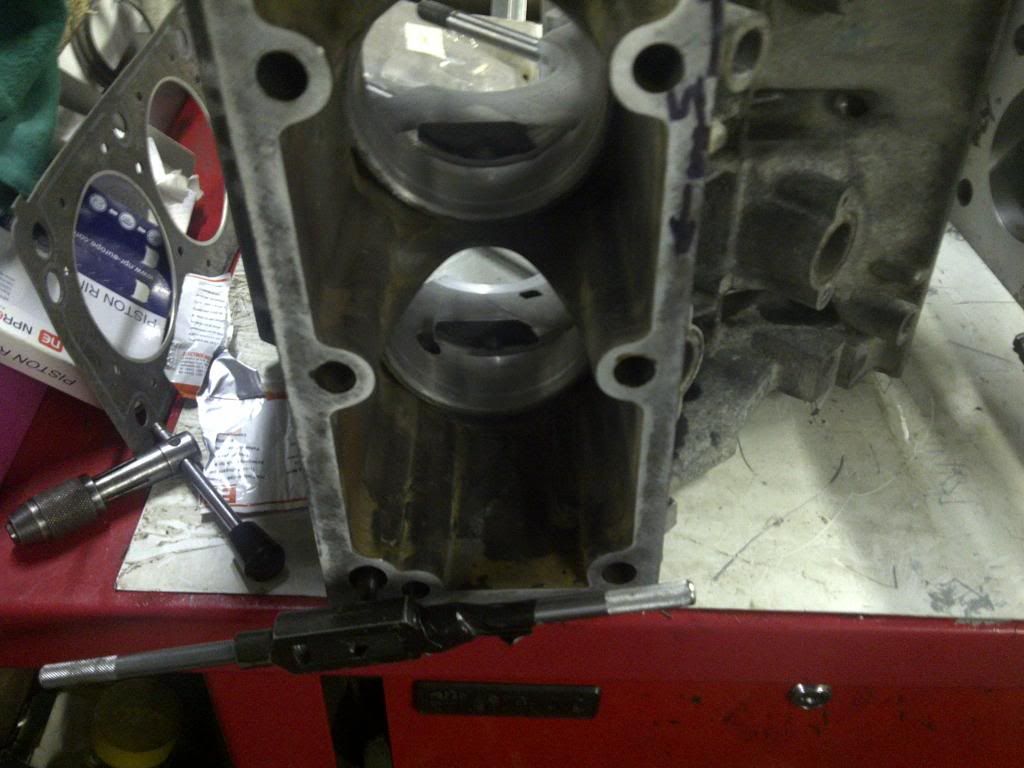
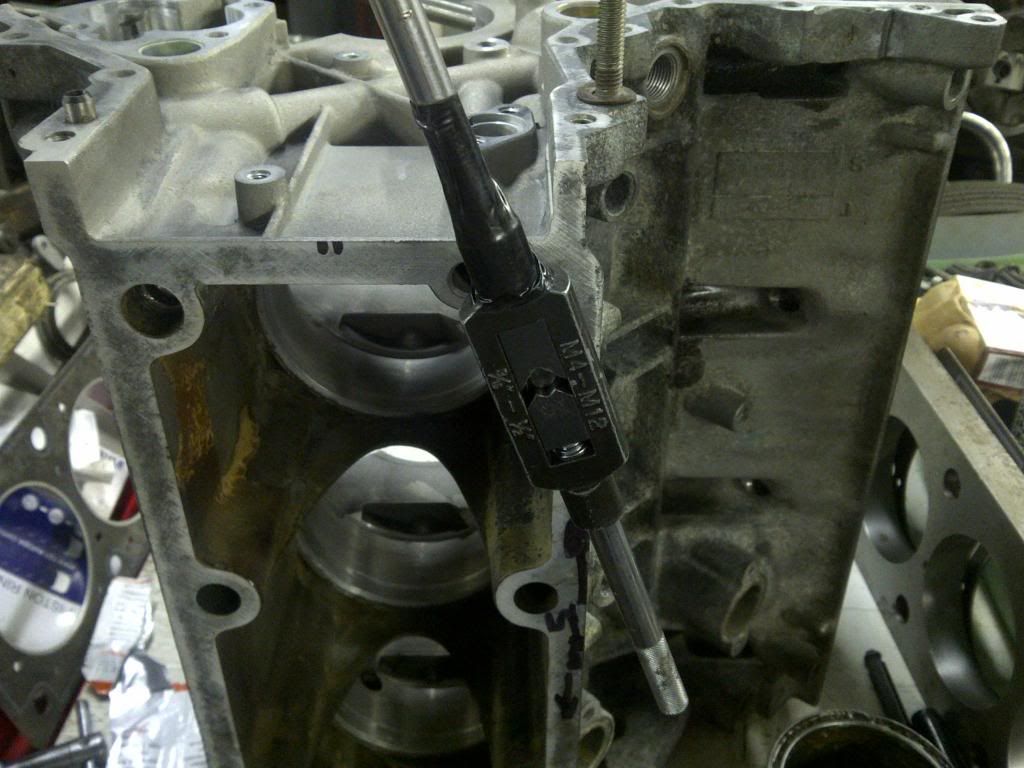
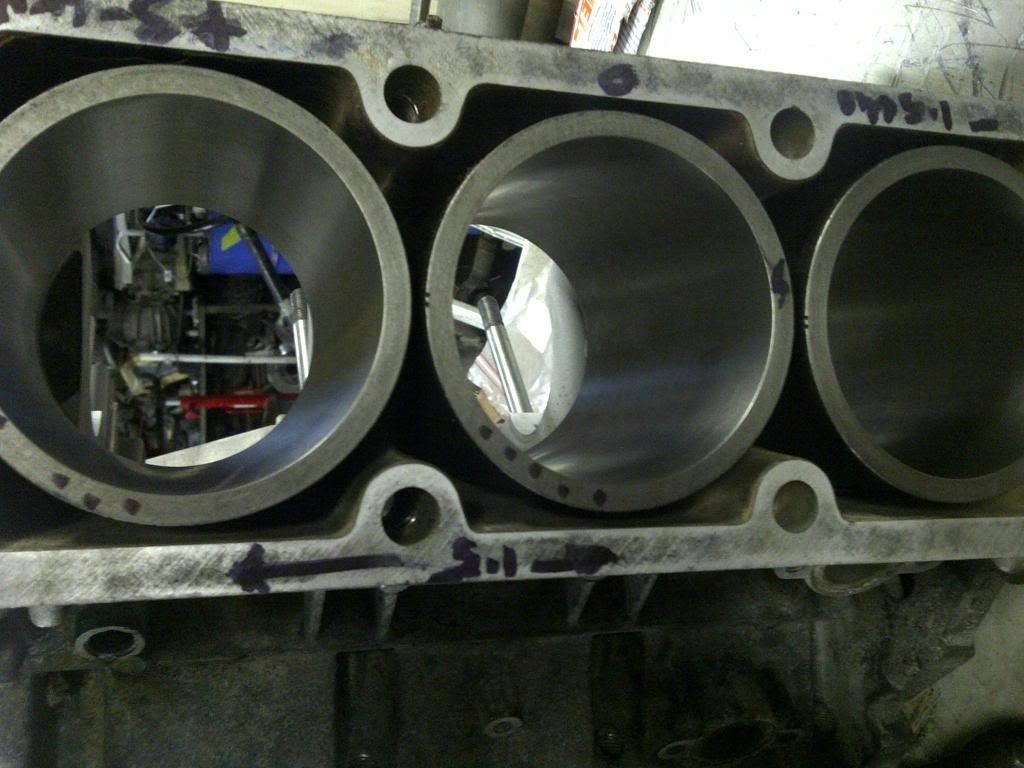
Checking liner heights and position before clean down, before building back up with known positions, liner seals etc…
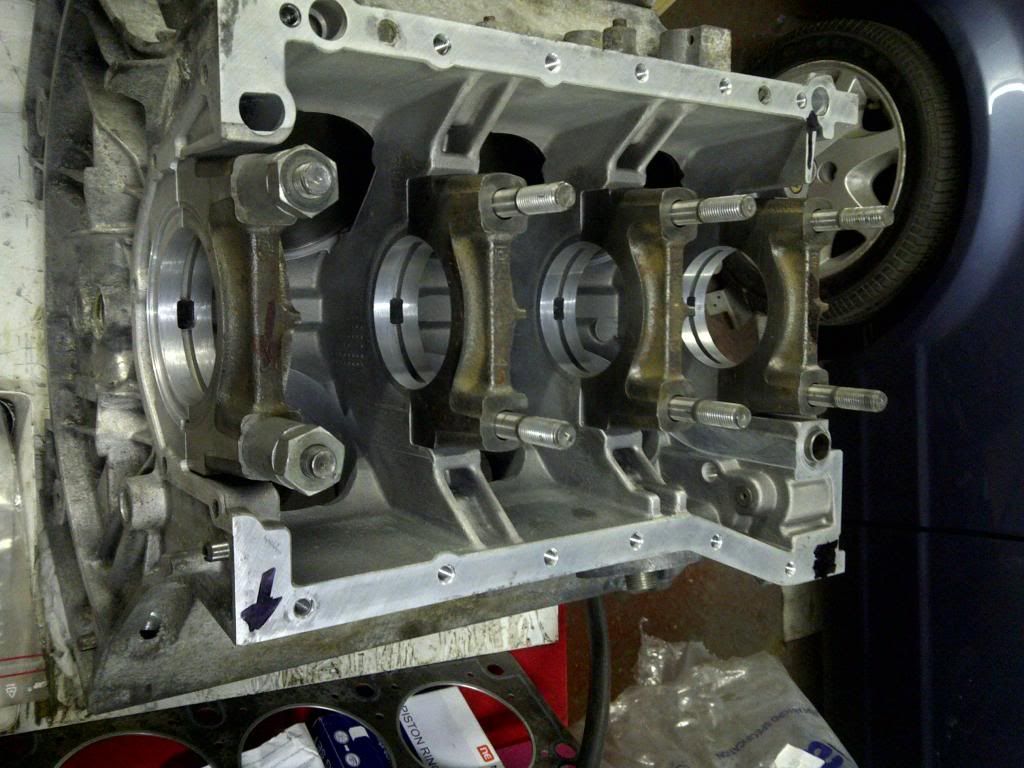
Checking main cap alignment with bore gauge (as per method page 1 here:
viewtopic.php?f=8&t=5612), and main cap indexing / reference surface ie which side of the block to push them on assembly – two middle saddles are clamped and reference fit in the block, front and rear is typically not. I have had this block line honed through the saddles and replicating the setup when this machining operation was performed is important; it gives a little extra oil reservoir at the bearing parting lines if done correctly with some tweaks. The PRV is typically tight on this dimension deliberately to reduce engine running noise; in this application I’m not at all worried about that.

Various checks before fine clean and build:
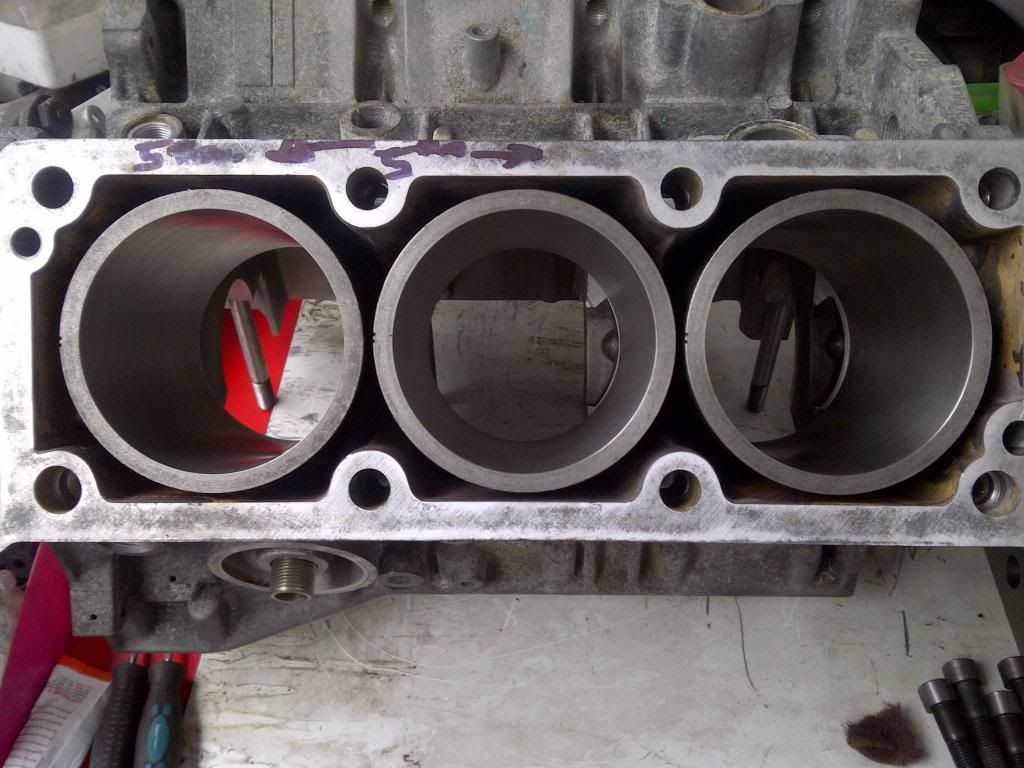
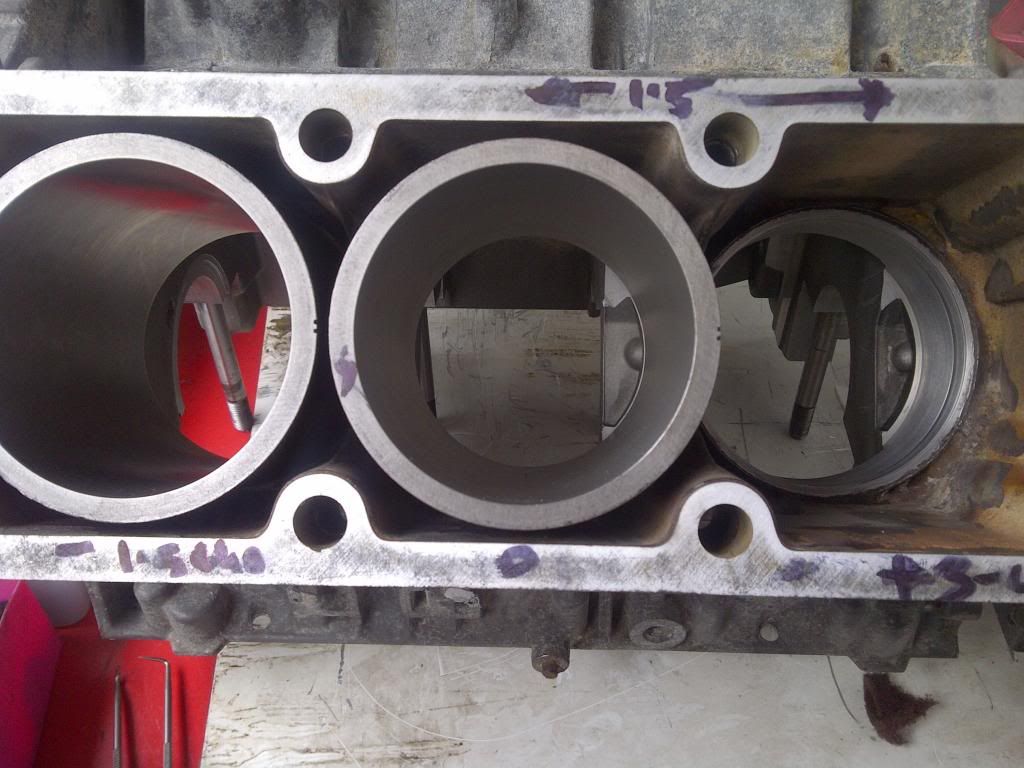
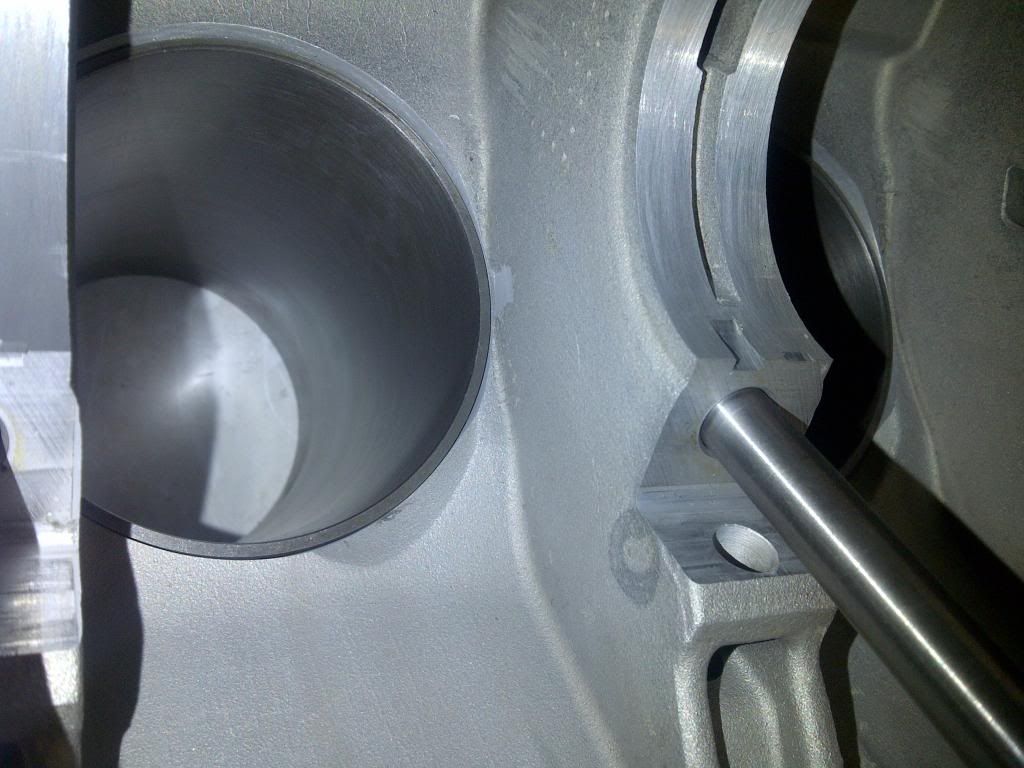
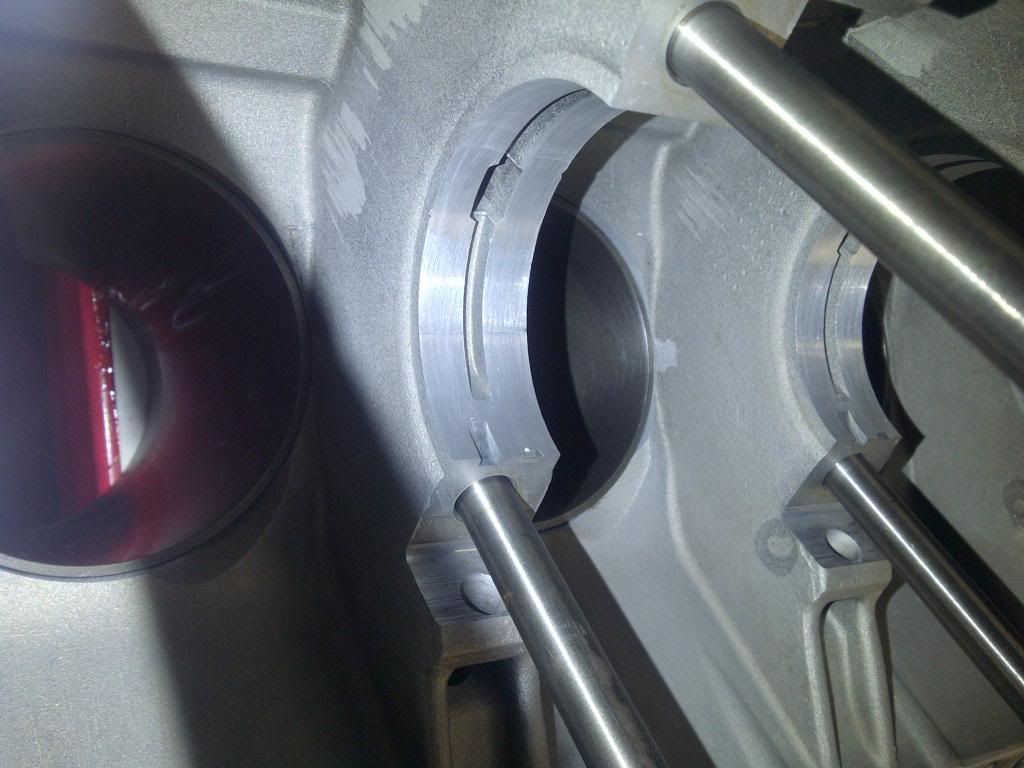
Checking liners free fitted..
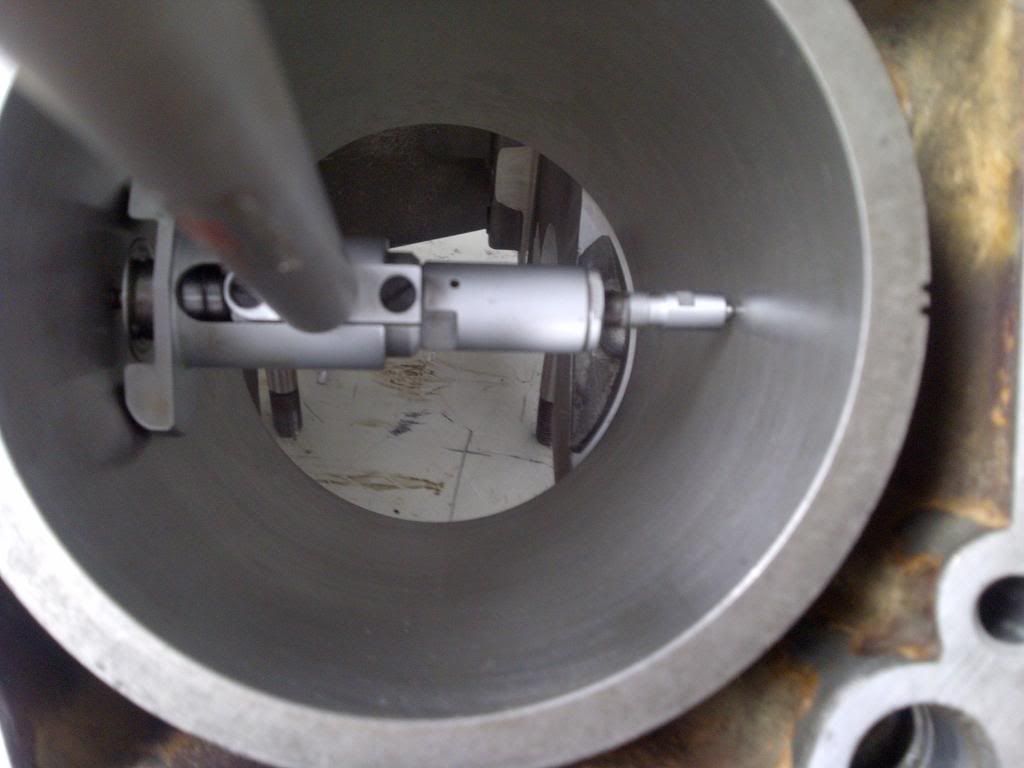
Bottom, to:
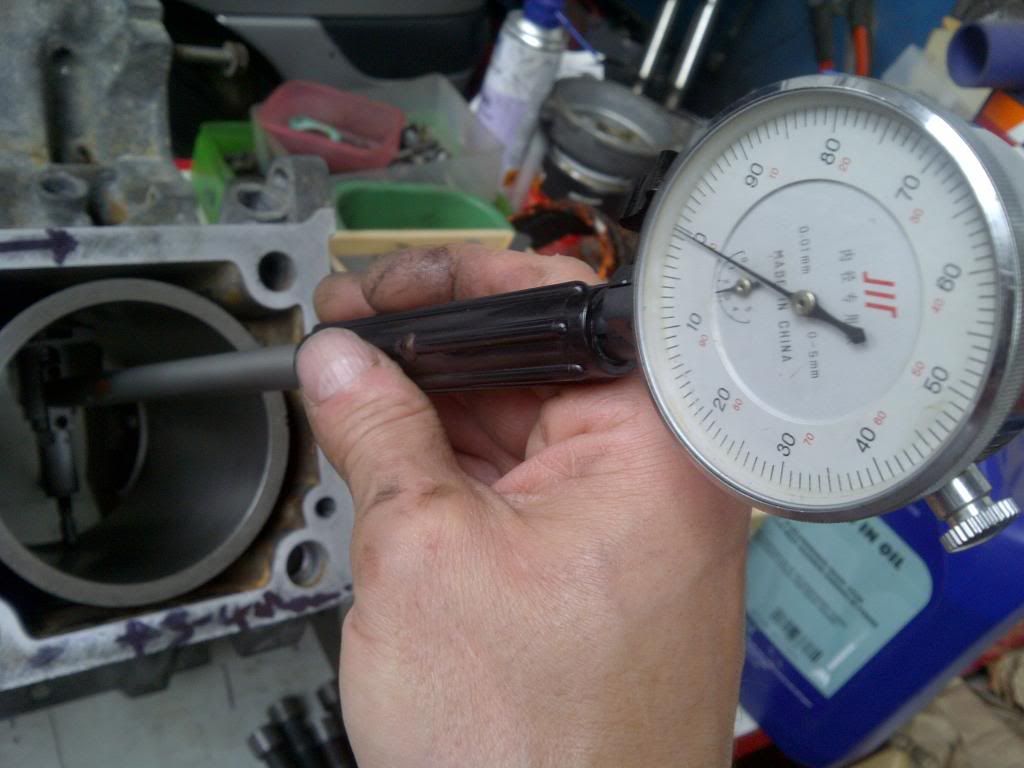
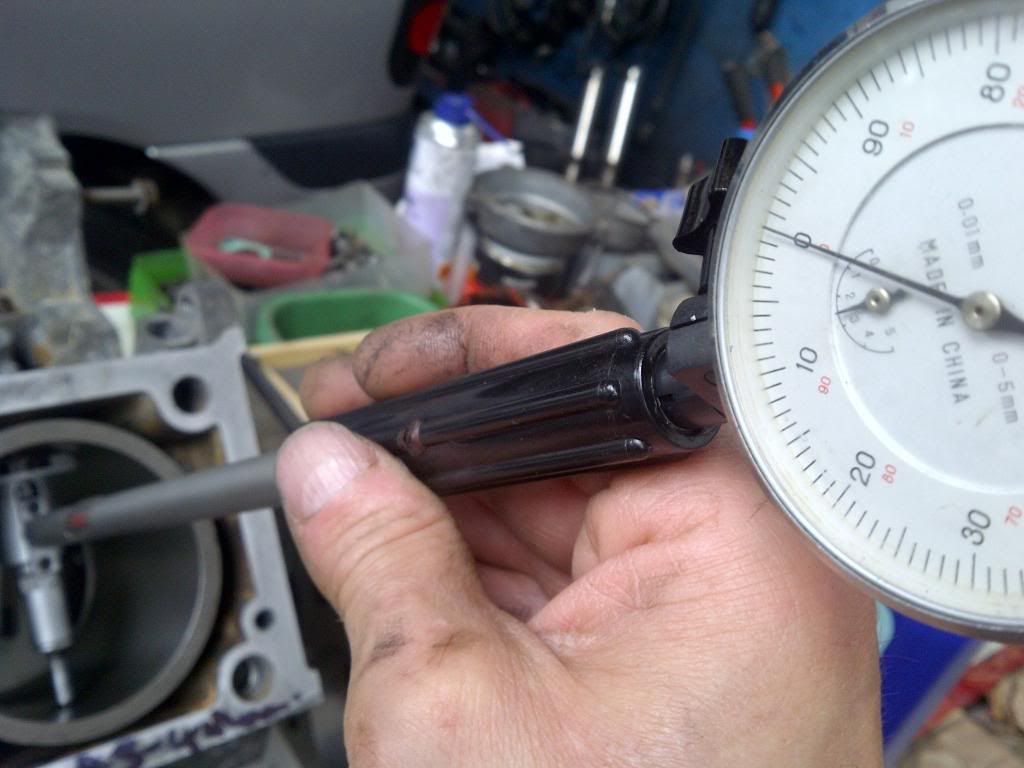
Top (apologise for the Chinese gauge, it’s my back up, my lovely old British gauge is having new jewels fitted as I dropped it badly when I first started on this engine build.. hey ho, but this is a trusty unit, and null movement on any gauge is the best / most accurate point, these liners post boring (no this isn’t standard bore size anymore… ) and honing are spot on!)
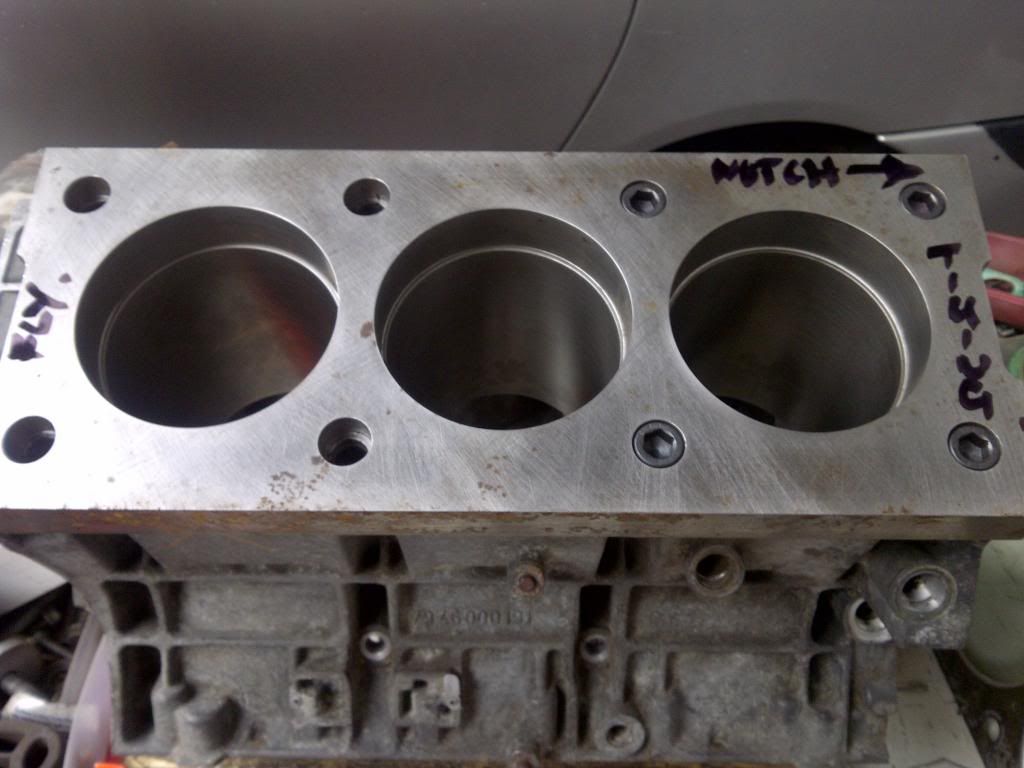
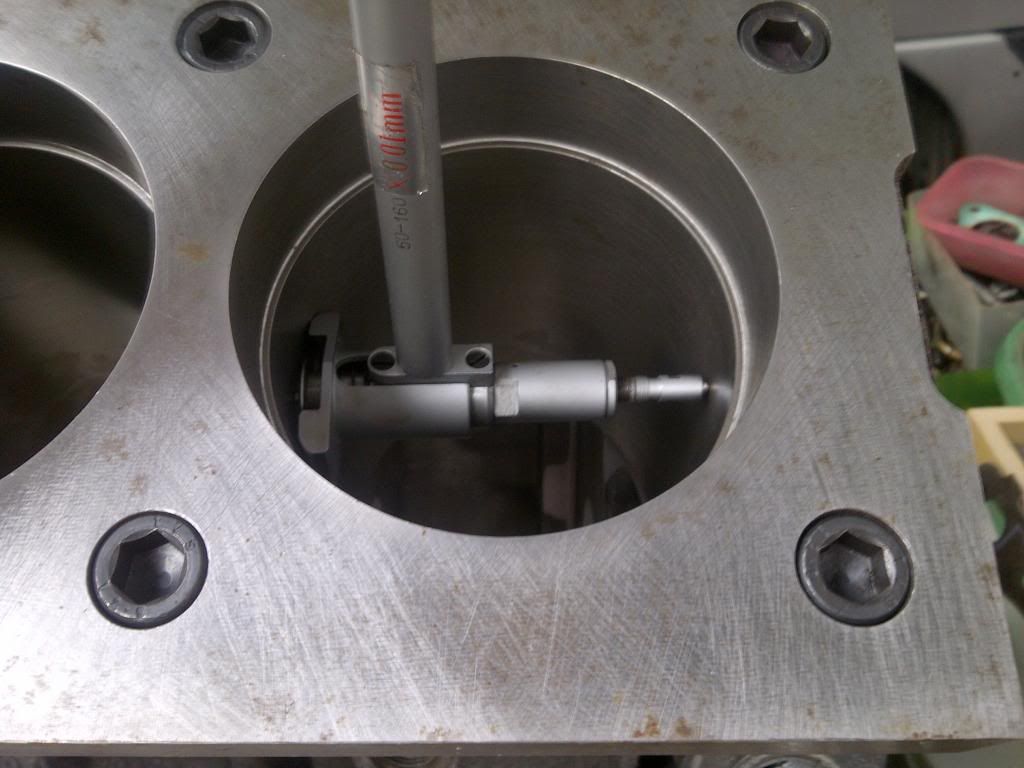
.. and then, checking the liners under torque plate to check taper and ovality, and set final position / tweaks etc.
Scrub scrub..
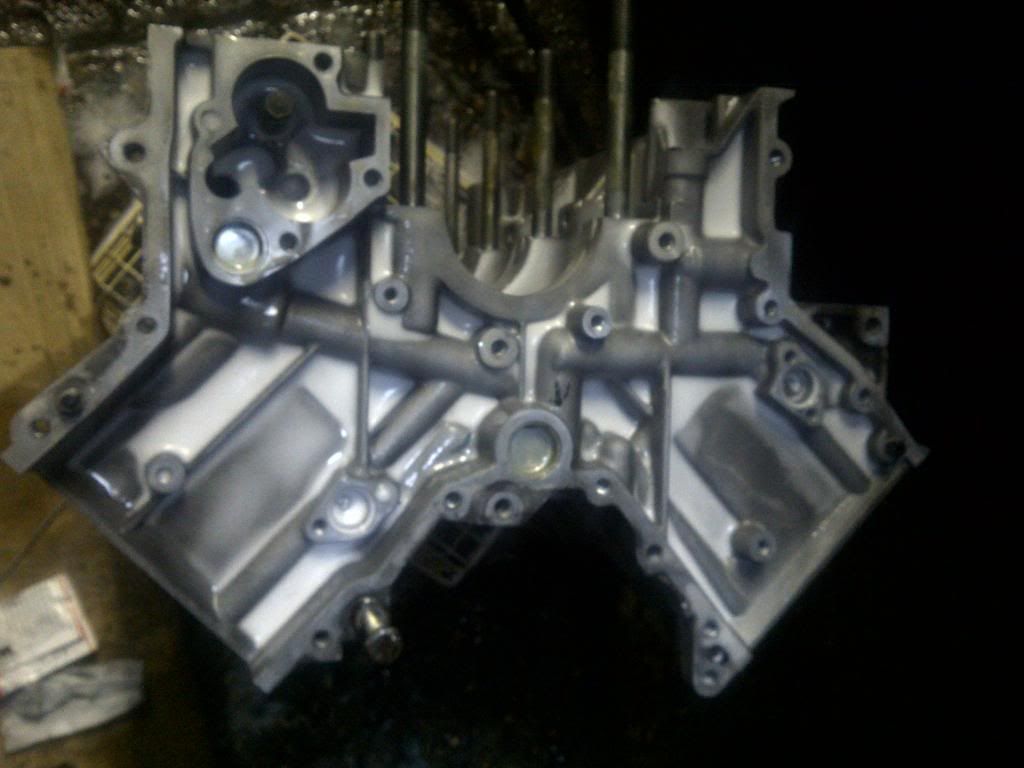
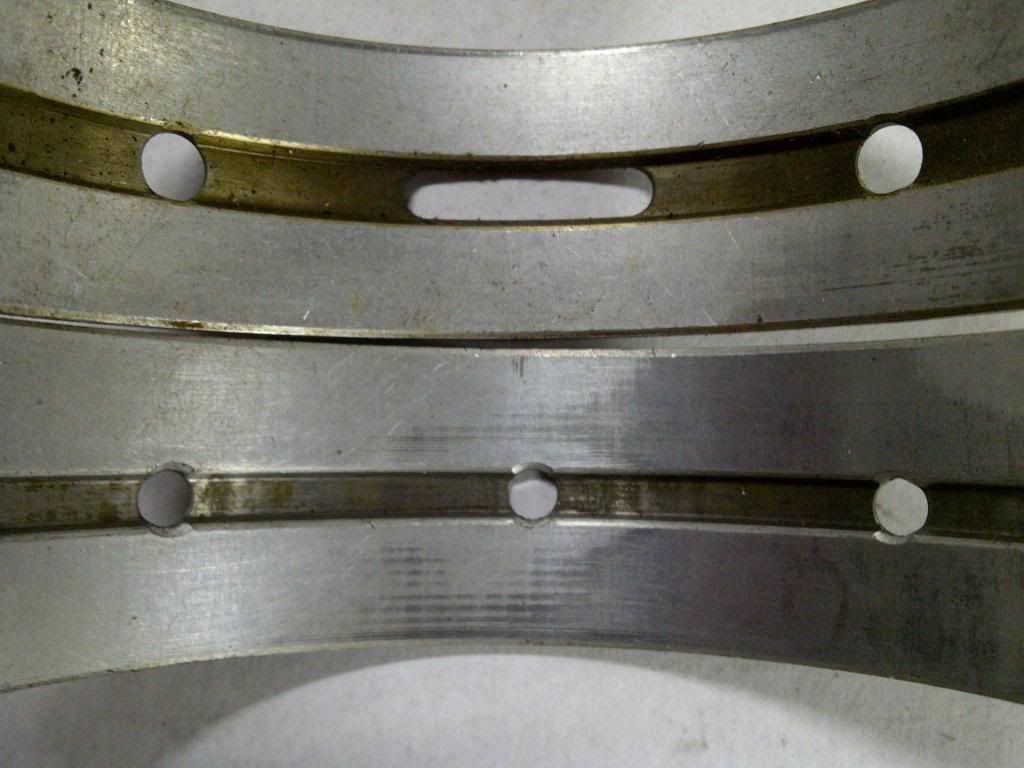
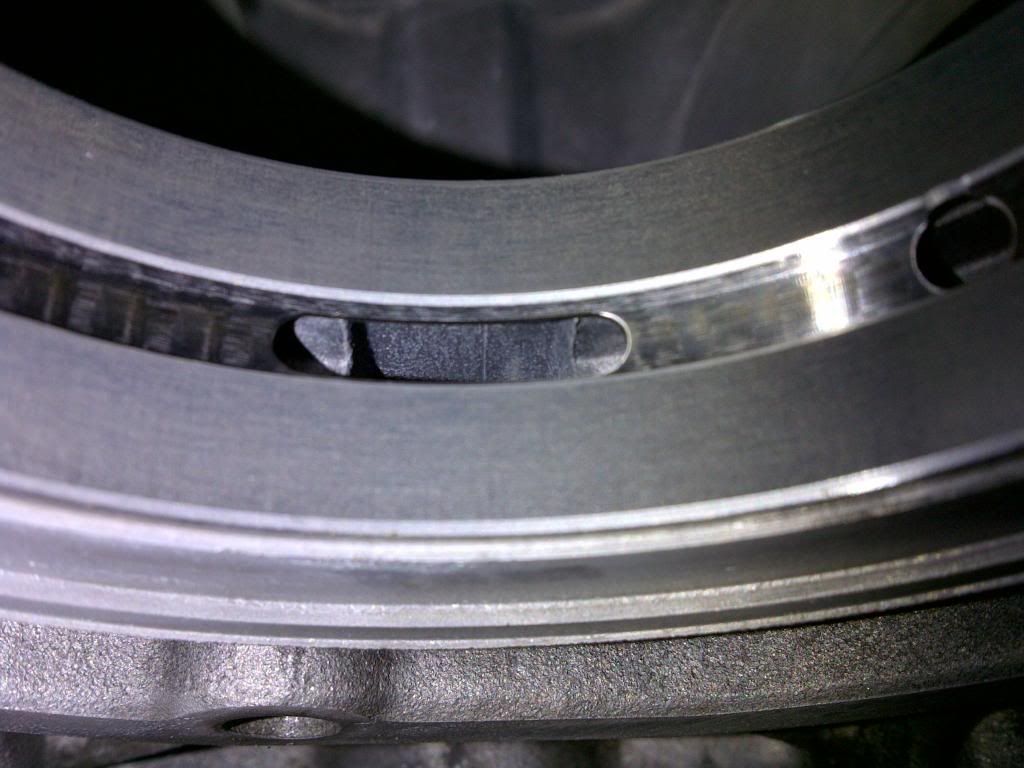
Uprated version of the shells goes in, comparison of some old units as below:
