D651WEY

A place to showcase your pride and joy

Moderators: eastlmark, BIG_MVS, Test Moderator

User avatar
User

darrenbiggs

Rank

Non Member

Posts

1499

Joined

Thu Apr 29, 2004 1:03 pm

Location

Horley - Nr Gatwick


Has thanked: 15 times
Been thanked: 39 times

Postby darrenbiggs » Sun Jan 13, 2013 3:09 pm

Plug all your holes Ced


You're just saying these things for comic effect now Lee :lol:

Image
I'm just here for the gasoline.
User avatar
User

clee

Rank

Non Member

Posts

10431

Joined

Fri May 28, 2004 11:58 am

Location

Derbyshire


Has thanked: 54 times
Been thanked: 104 times

Postby clee » Sun Jan 13, 2013 3:24 pm

Image
User avatar
User

mogster242

Rank

Non Member

Posts

556

Joined

Mon Apr 19, 2010 9:13 pm

Location

Bournemouth


Has thanked: 20 times
Been thanked: 6 times

Postby mogster242 » Mon Jan 14, 2013 10:35 pm

MFaulks wrote:.
Cedric,

You mentioned plug holes, are you talking general debris or something else? If the plugs are still in, blow them out with compressed air.. or vac with a tube.. what ever you have.. Do it before you pull the plugs, or the crud will just fall in to the cylinder... talking of which, you need to plug up your intakes (and plug holes if you take the plugs out) with rag or towel etc or you will be dropping something in there, and worst into one of the cylinders... been there many moons ago and you don't forget the pain...


Another thing whilst you are on your wash and go cycle, have you pulled the two water drain plugs (either side of the block) and made sure there wasn't a load of crud in there, and then also back-flush out the block? If you haven't, then best wait now until you have it canned and sealed back up; just a thought. :wink:

Regards,
Martin


i blocked the intakes holes while cleaning so nothing could get in. yes i was talking about the spark plug holes as there is a lot of dust/muck at the bottom. plugs are still in so yes would like to clean before removing them as i dont want the crap to fall in... dont have compressed air so will have to find another way...

not sure where the 2 water drain plugs are, are you referring to the 2 pipes at the bottom of your picture?
1989 GTA V6 Turbo Grey
Megane R26 F1
Clio 197
no avatar
User

MFaulks

Rank

Non Member

Posts

1552

Joined

Sun Sep 28, 2008 4:25 pm


Has thanked: 45 times
Been thanked: 26 times

Postby MFaulks » Mon Jan 14, 2013 11:26 pm

.
... looks like all the pros are still watching the video than helping you out lol :roll:
.. mind you if you watch the shadows she would definitely pass the pencil test!

Anyway, to answer your question, if you look at your side view picture above mine you refer, then the drain plug on each cylinder bank is situated just below the header on the right side of the picture with the square socket. See it?

Martin
... A diamond is only a piece of coal that did well under pressure... PRV afflicted, may be I need to squeeze harder!!!!

https://www.facebook.com/maftecfaulks
User avatar
User

mogster242

Rank

Non Member

Posts

556

Joined

Mon Apr 19, 2010 9:13 pm

Location

Bournemouth


Has thanked: 20 times
Been thanked: 6 times

Postby mogster242 » Tue Jan 15, 2013 12:06 am

I do, thanks Martin,

I will drain and flush...
1989 GTA V6 Turbo Grey
Megane R26 F1
Clio 197
User avatar
User

mogster242

Rank

Non Member

Posts

556

Joined

Mon Apr 19, 2010 9:13 pm

Location

Bournemouth


Has thanked: 20 times
Been thanked: 6 times

Postby mogster242 » Tue May 07, 2013 9:33 pm

Right, havent posted any updates for a while, so here we go...

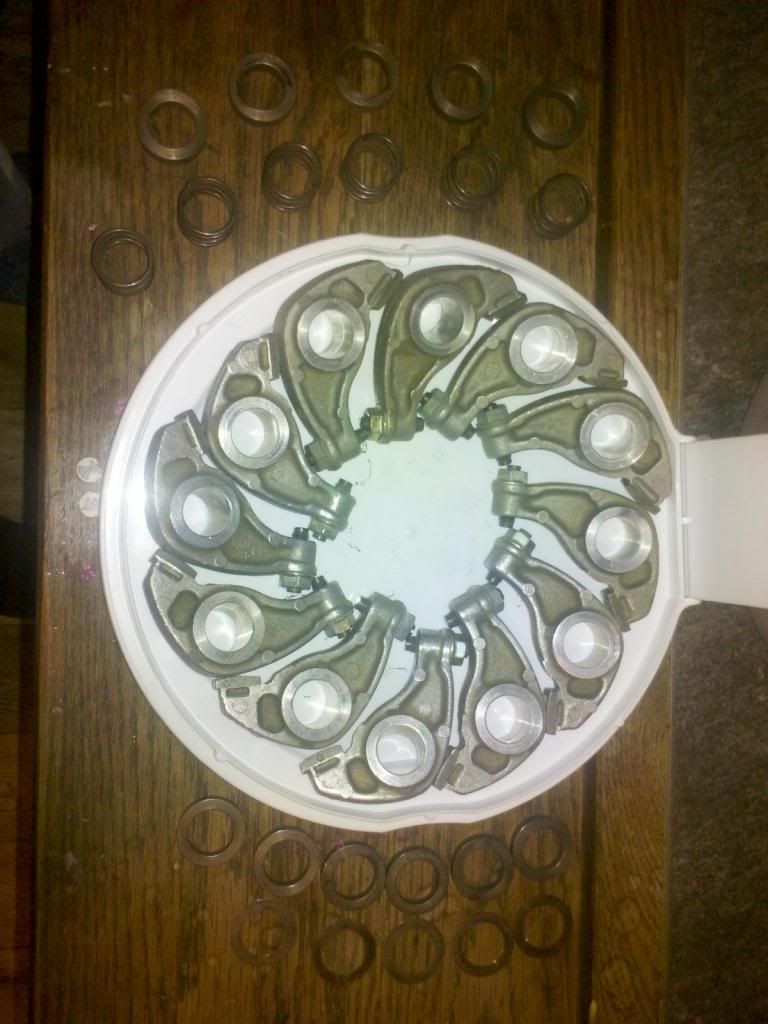
Have replaced the rocker arms with light alloy ones with the help of Mr Faulks who came down to deliver my new shiny turbo :D Thanks a million Martin for your invaluable help and advise all along

clean set of rockers, thanks Clee :wink:

Image

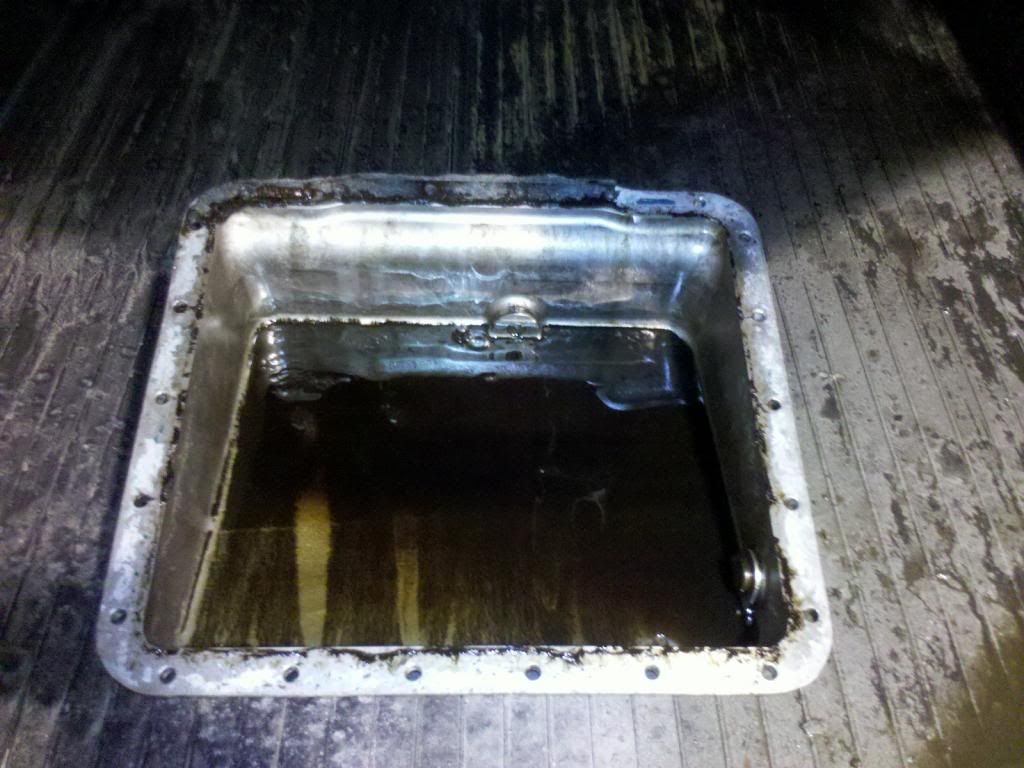
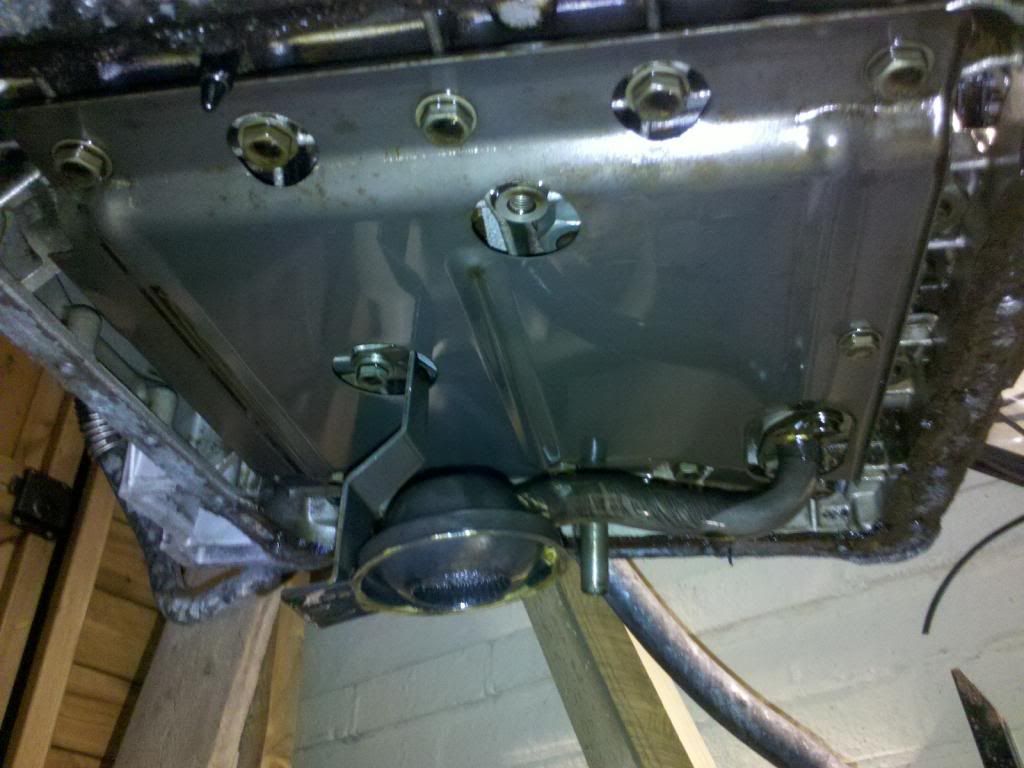
dropped the sump

Image

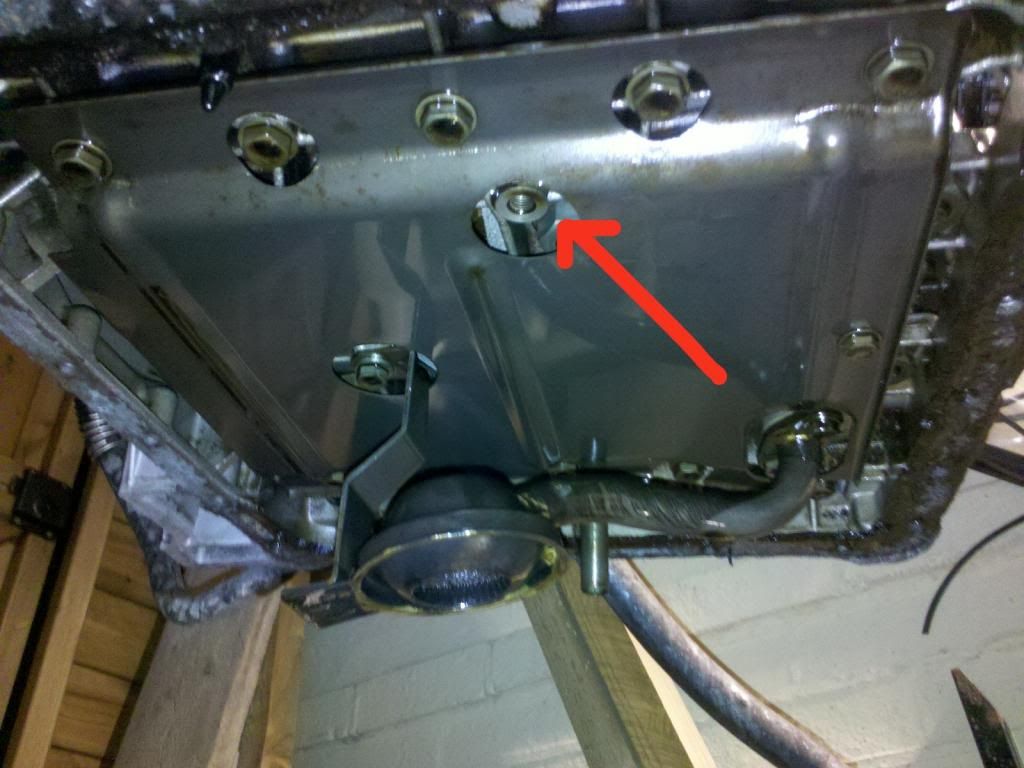
if you look closely next to the drain hole you will see this :shock: :shock:

Image

oil pick up point seemed clean enough

Image

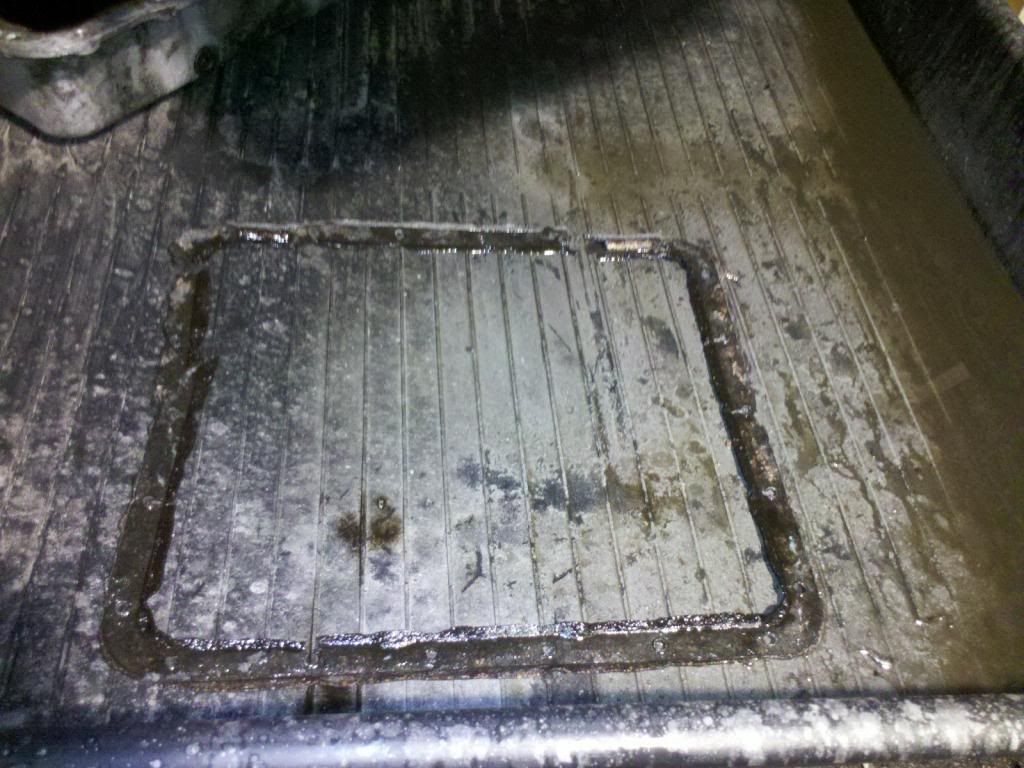
but the gasket was worse that swiss cheese :D

Image

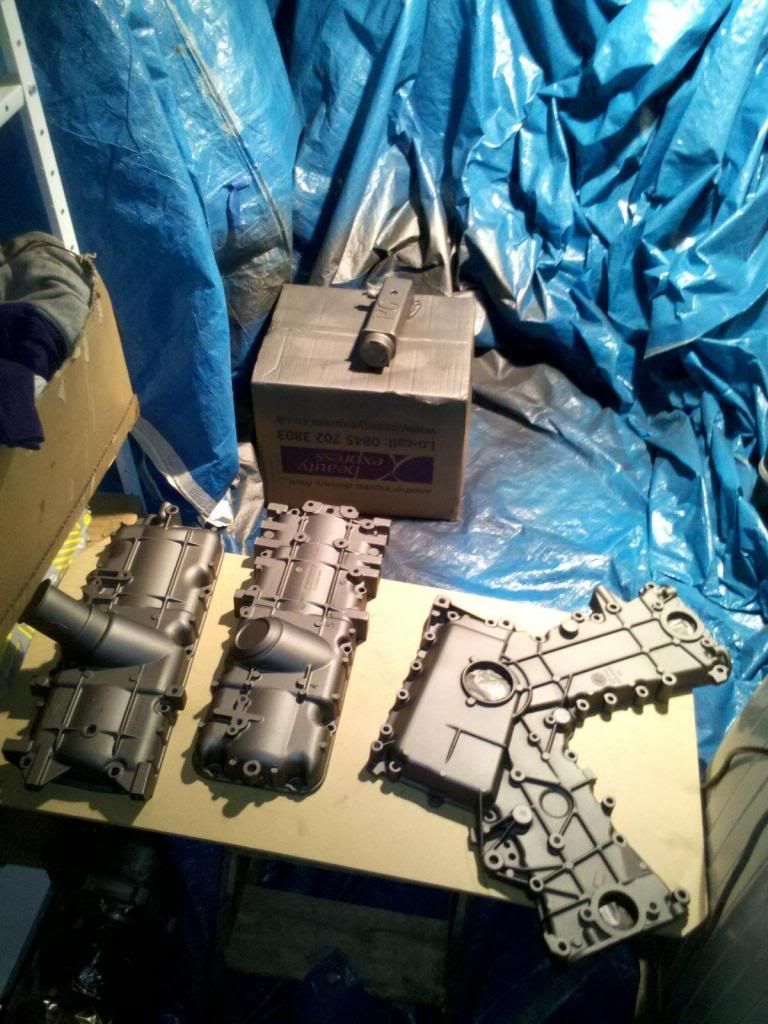
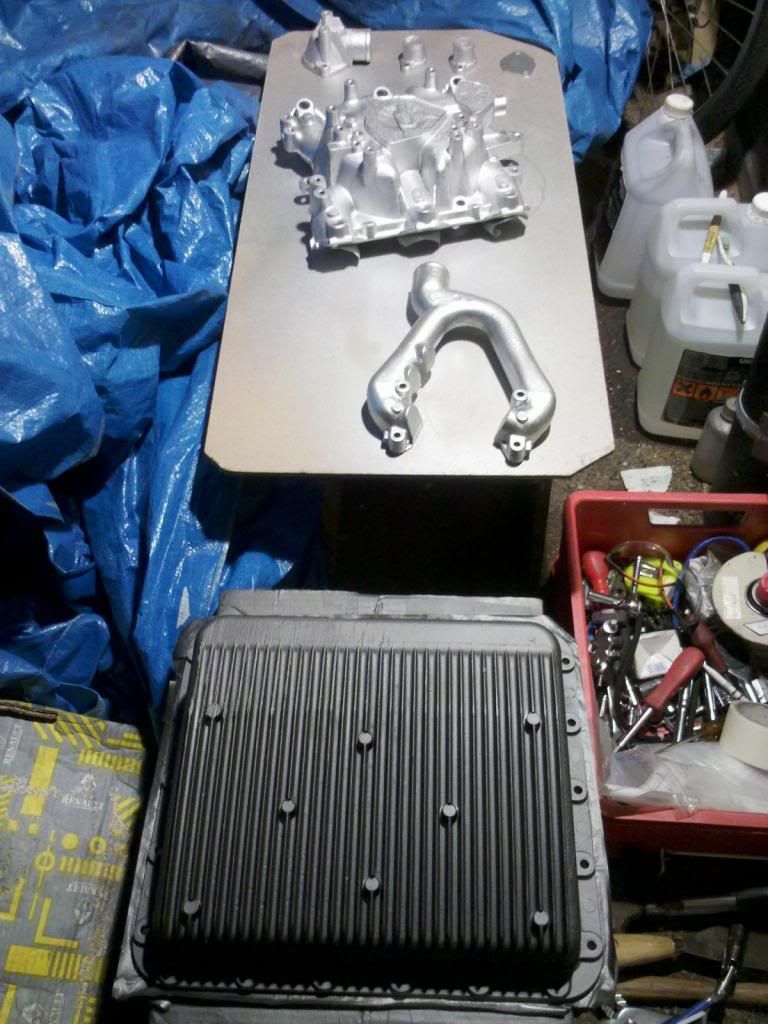
improvised spray shop :D

Image

Image

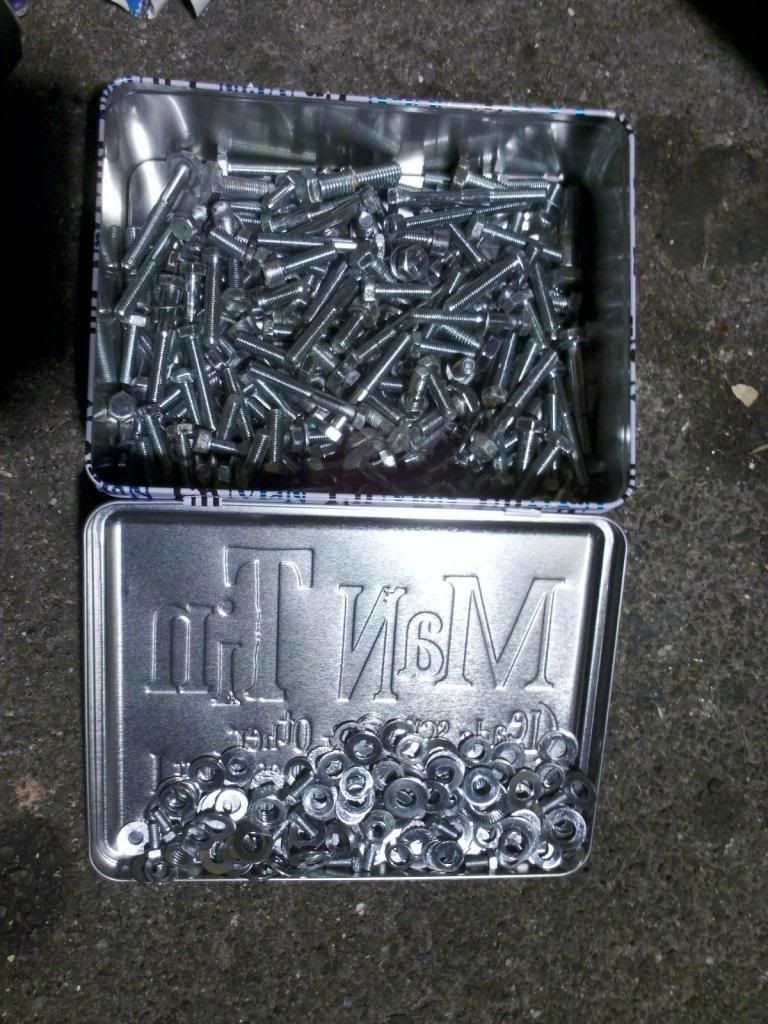
refurbed screws etc

Image

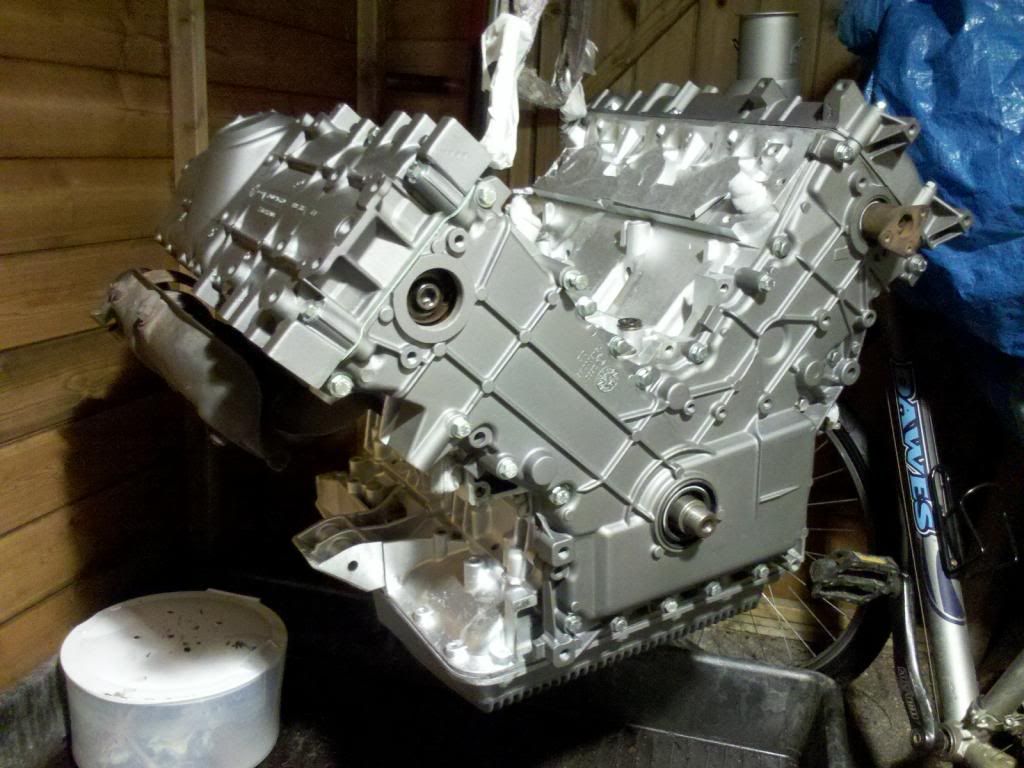
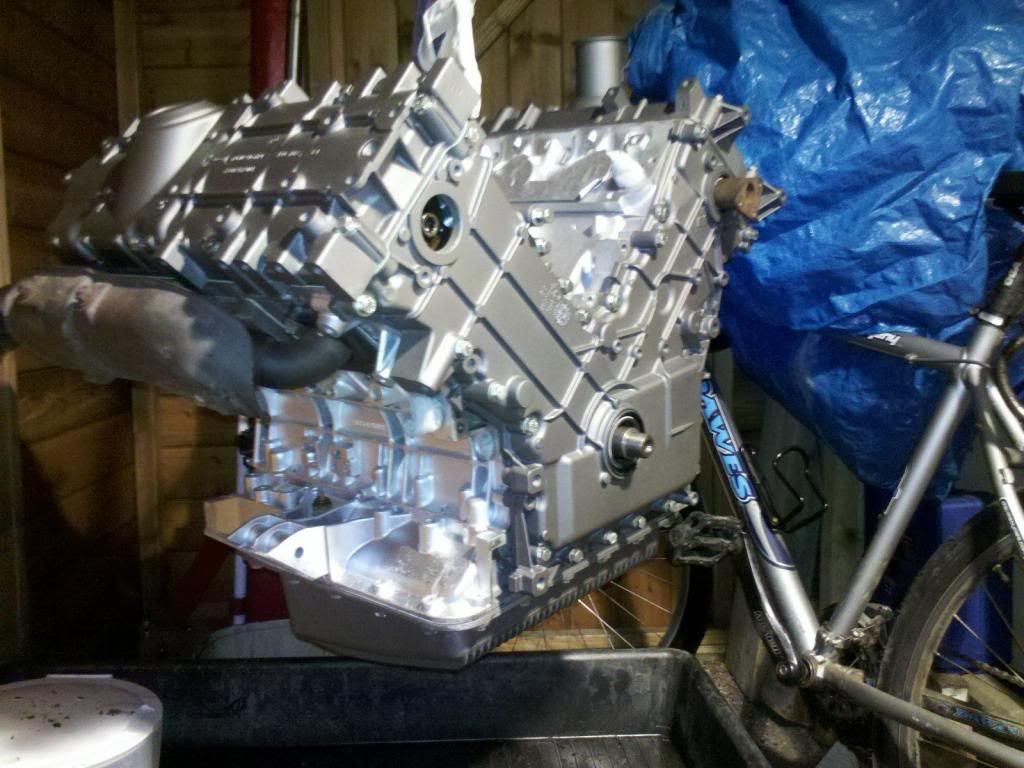
and now the build begins (if i can remember how it gets back together :lol: )

Image

Image

thats it for now :wink:
1989 GTA V6 Turbo Grey
Megane R26 F1
Clio 197
no avatar
User

MFaulks

Rank

Non Member

Posts

1552

Joined

Sun Sep 28, 2008 4:25 pm


Has thanked: 45 times
Been thanked: 26 times

Postby MFaulks » Tue May 07, 2013 9:55 pm

.
Hi Cedric,

Pleasure, hope it comes together nicely :) Did you drill and tap the turbo high point take off ok?

Just checking, looking at your pictures, have you fitted the o seals the right way round? It may be the picture... the inner lip seal faces into the engine. Here hoping it's just the shadows in the picture leaving me with the impression it's reversed.

Martin
... A diamond is only a piece of coal that did well under pressure... PRV afflicted, may be I need to squeeze harder!!!!

https://www.facebook.com/maftecfaulks
User avatar
User

mogster242

Rank

Non Member

Posts

556

Joined

Mon Apr 19, 2010 9:13 pm

Location

Bournemouth


Has thanked: 20 times
Been thanked: 6 times

Postby mogster242 » Wed May 08, 2013 12:00 pm

Martin,

No i havent done anything to the turbo yet, quite nervous about drilling it + need to find the correct tools first

well, we have established this morning that i have assembled the seals the wrong way around so i guess i have to go back a few steps :roll: :oops: thanks for pointing it out
1989 GTA V6 Turbo Grey
Megane R26 F1
Clio 197
User avatar
User

clee

Rank

Non Member

Posts

10431

Joined

Fri May 28, 2004 11:58 am

Location

Derbyshire


Has thanked: 54 times
Been thanked: 104 times

Postby clee » Wed May 08, 2013 12:36 pm

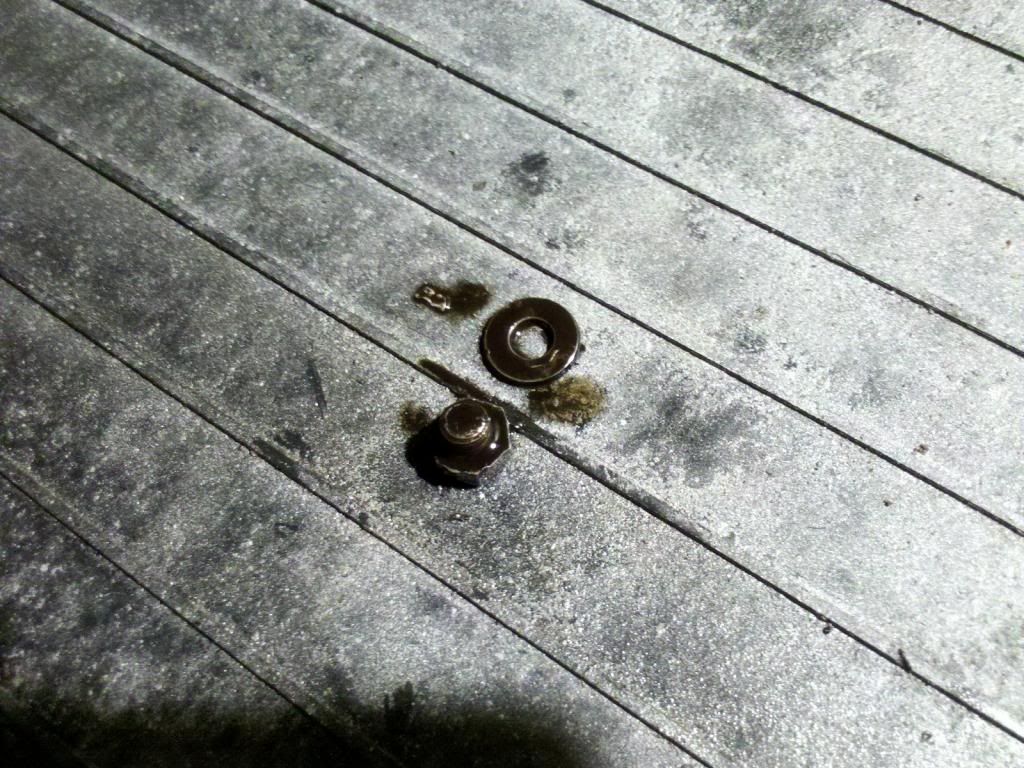
Is that a nut and washer that was in the sump ?How big ?? Have you had the splash cover off the bottom end and checked mains fixings ?
User avatar
User

mogster242

Rank

Non Member

Posts

556

Joined

Mon Apr 19, 2010 9:13 pm

Location

Bournemouth


Has thanked: 20 times
Been thanked: 6 times

Postby mogster242 » Wed May 08, 2013 10:57 pm

It is actually a sheared bolt and washer m6 I believe (but could be m7, need to double check) could not see any bolts missing but haven't removed the splash cover I'll do that tomorrow night
1989 GTA V6 Turbo Grey
Megane R26 F1
Clio 197
no avatar
User

Jon K

Rank

Non Member

Posts

107

Joined

Sun Mar 20, 2011 9:24 pm

Location

Winchester


Has thanked: 0 time
Been thanked: 0 time

Postby Jon K » Thu May 09, 2013 8:47 am

Cedric, the block etc looks really good. Have you just cleaned and painted it?

I want to start to pull my spare engine apart soon so I need to have a think about what to do with it.
1989 GTA Turbo
1994 Land Rover Disco Pick-up
User avatar
User

mogster242

Rank

Non Member

Posts

556

Joined

Mon Apr 19, 2010 9:13 pm

Location

Bournemouth


Has thanked: 20 times
Been thanked: 6 times

Postby mogster242 » Thu May 09, 2013 12:00 pm

Thanks Jon,

yes it was cleaned and painted + changed most seals/gaskets. The graphite colour looks really good IMO but the silver is way too shiny, light grey would have been better.... but i'm not too worried as it probably wont stay clean and shiny for too long :lol:
1989 GTA V6 Turbo Grey
Megane R26 F1
Clio 197
User avatar
User

mogster242

Rank

Non Member

Posts

556

Joined

Mon Apr 19, 2010 9:13 pm

Location

Bournemouth


Has thanked: 20 times
Been thanked: 6 times

Postby mogster242 » Sun May 12, 2013 9:14 pm

right, this m7 sheared bolt is a mystery...

removed the sump again, the oil feed pipe is held in place with 3 off m7 bolts (all in place), the splash cover is held in place with 10 off m8 + 1 off m7 bolts (all in place), above that the only bolts i can see are the ones holding the conrods in place on the crankshaft and they are m9 bolts :shock: :shock: (all in place)

the only place i can think it comes from is there

Image

what is normally fitted there?

no sign of the other end of the sheared bolt anywhere though.....
1989 GTA V6 Turbo Grey
Megane R26 F1
Clio 197
User avatar
User

mogster242

Rank

Non Member

Posts

556

Joined

Mon Apr 19, 2010 9:13 pm

Location

Bournemouth


Has thanked: 20 times
Been thanked: 6 times

Postby mogster242 » Tue May 28, 2013 11:33 pm

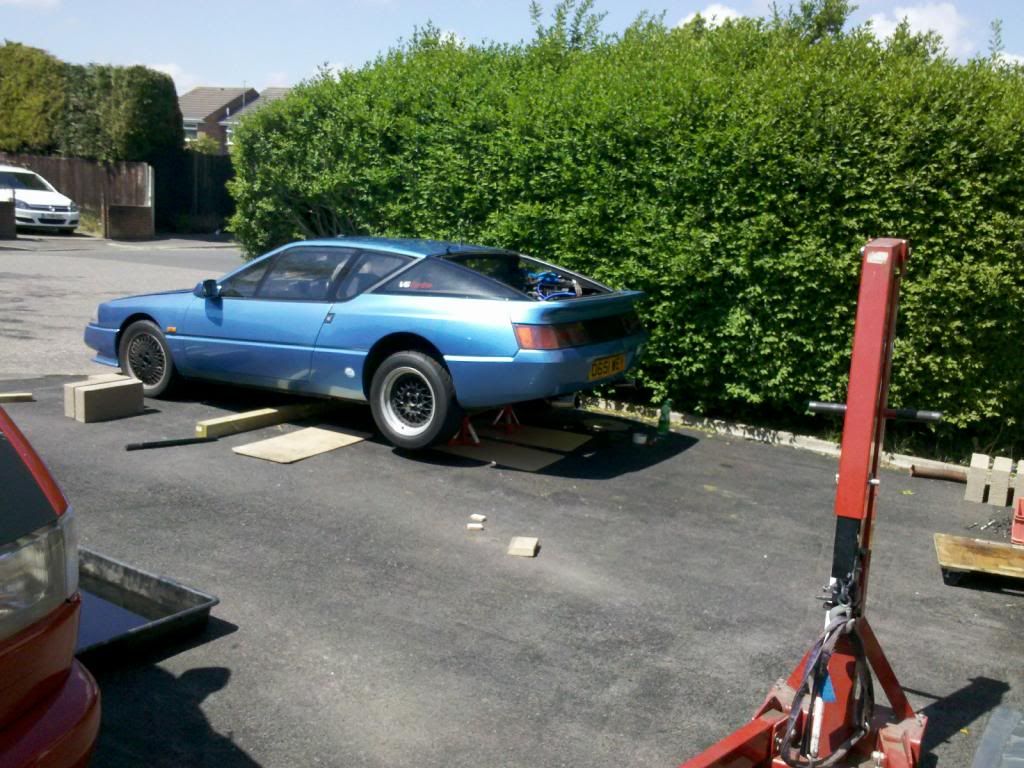
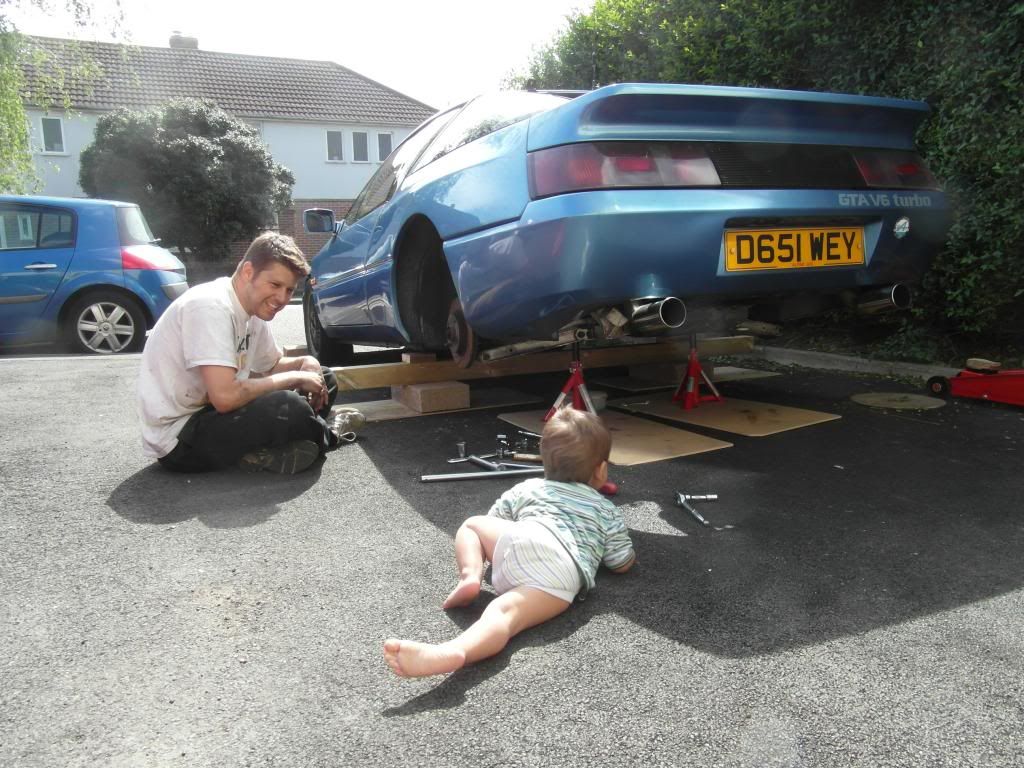
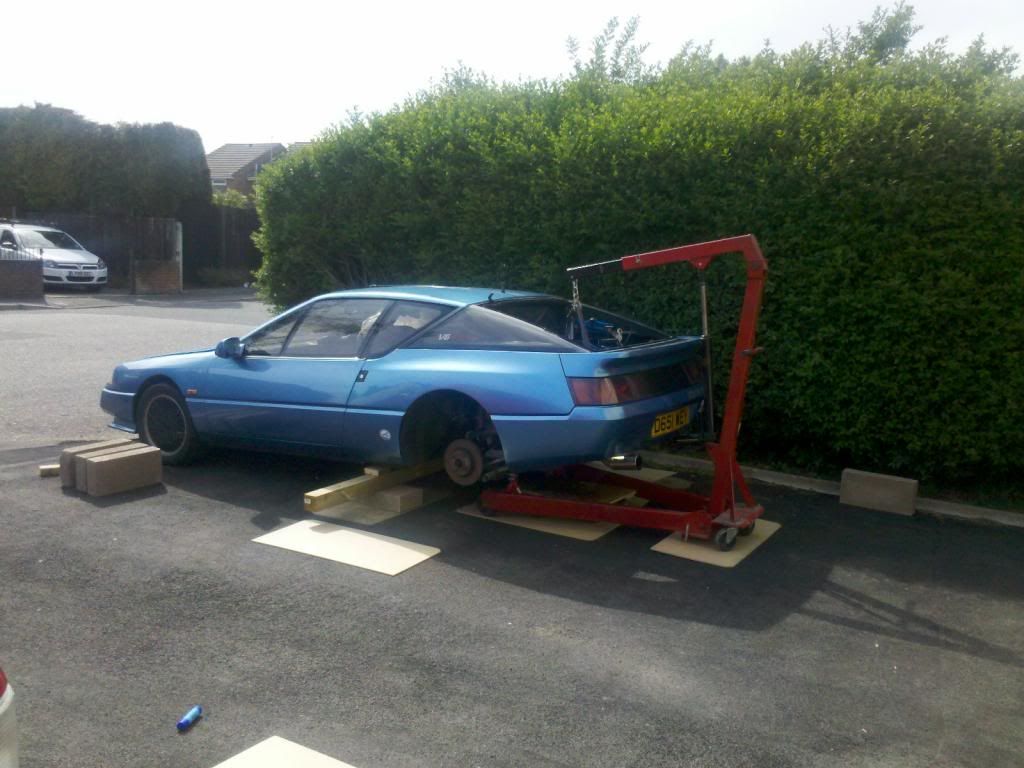
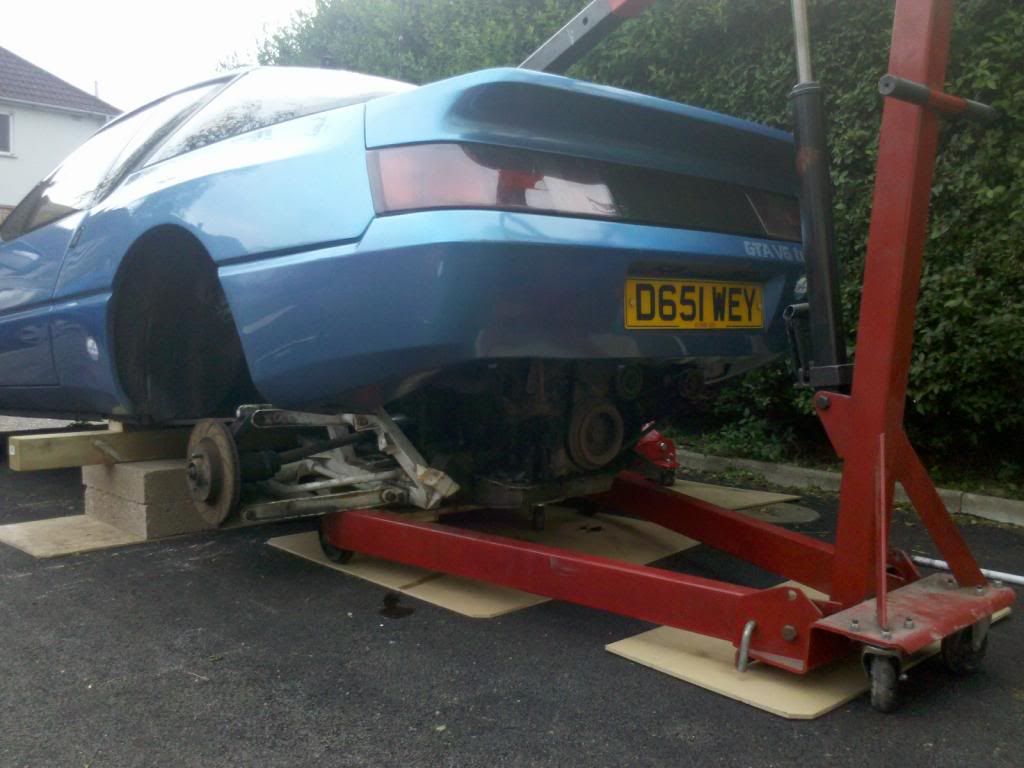
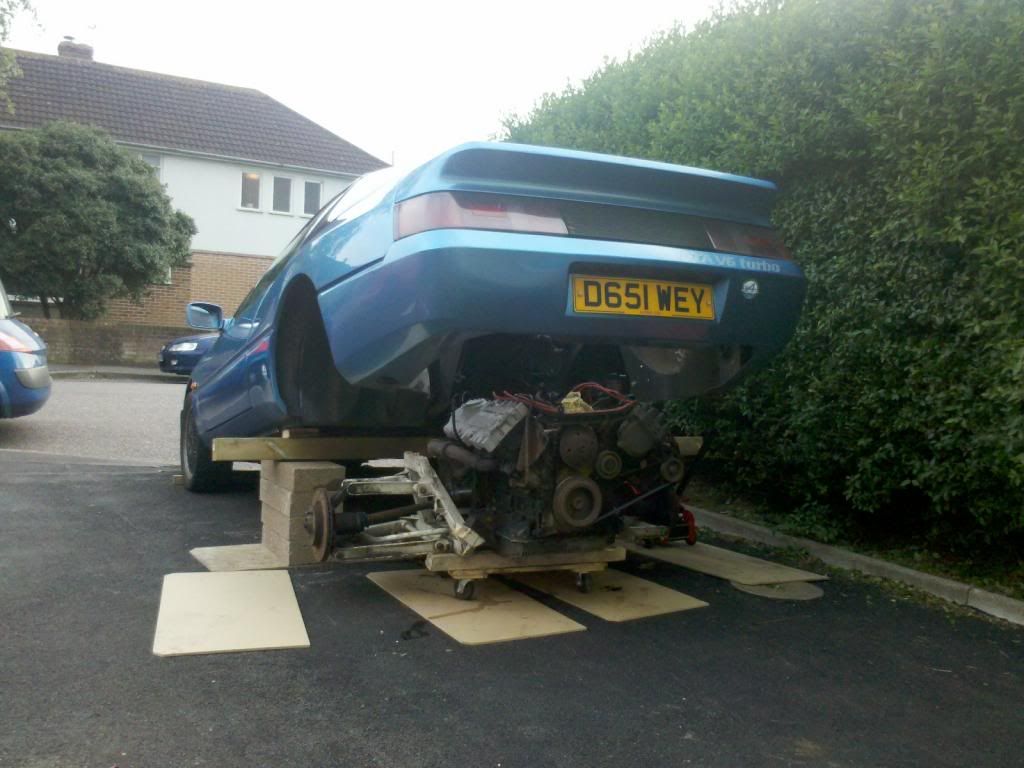
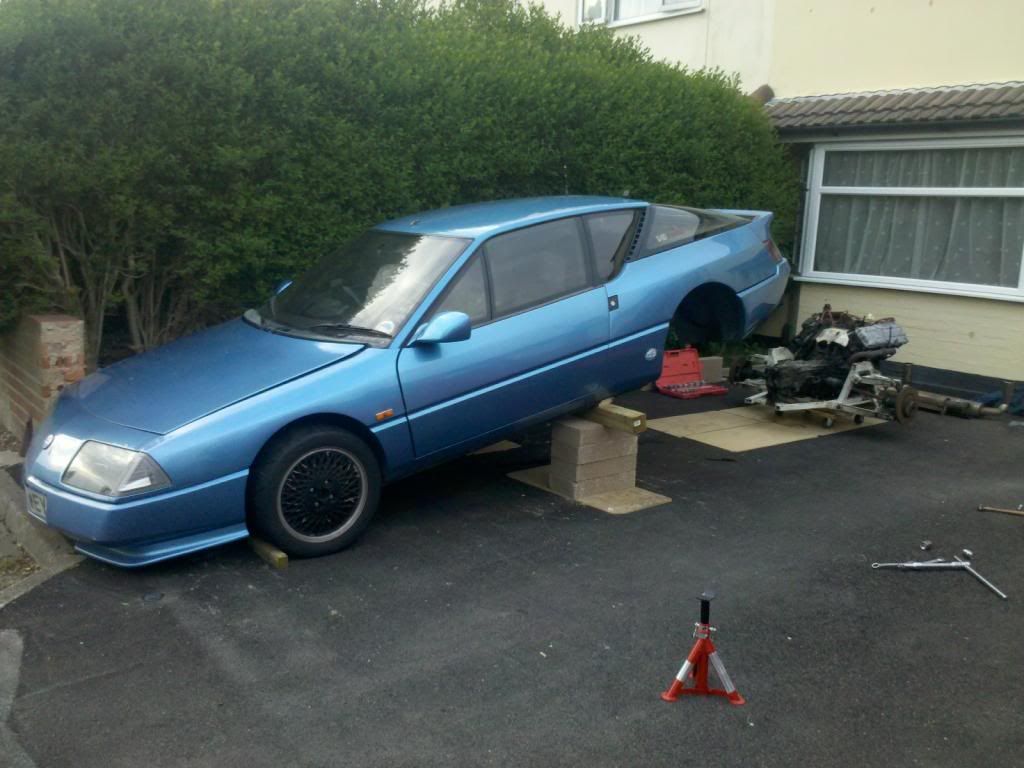
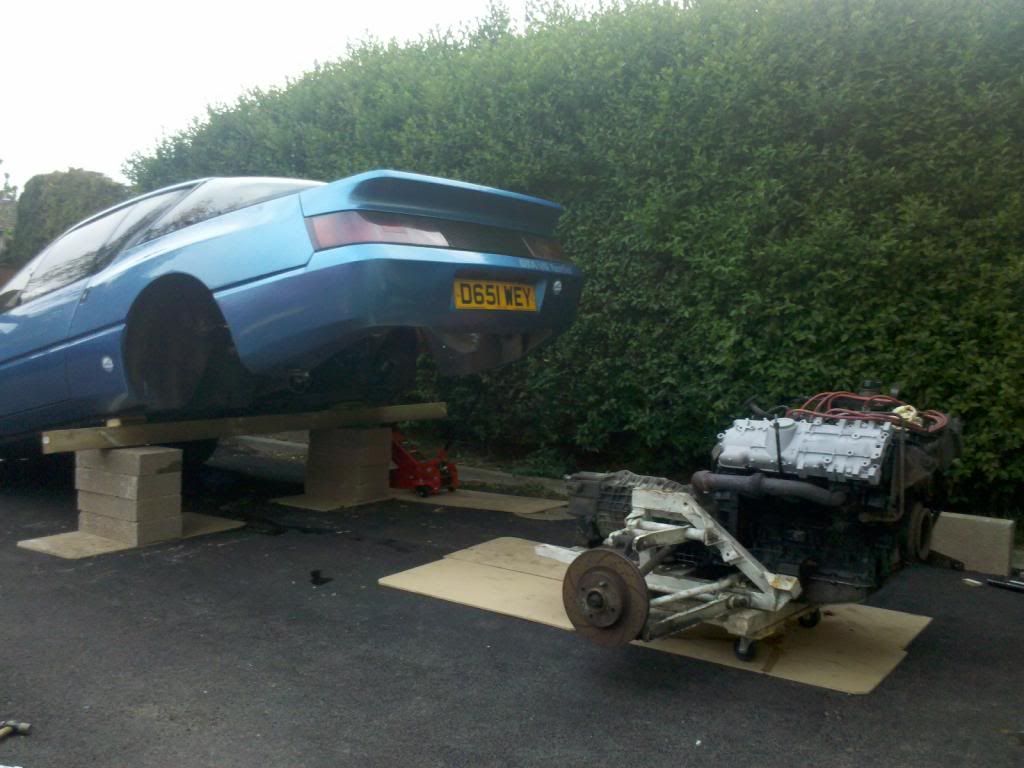
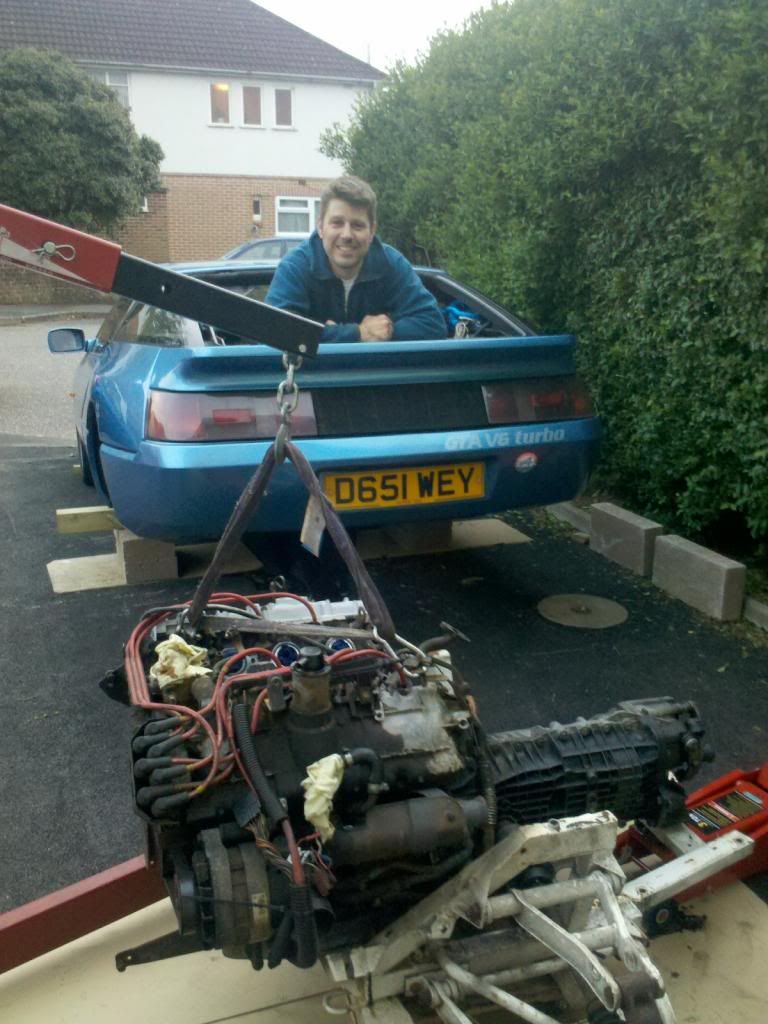
took the engine out this weekend, that was a job and a half... thanks Clee once again for running down the check list of things to disconnect before undoing those 6 bolts :wink:

all went well but took me the whole day as i was on my own

Image

well i'm lying mini mogster was helping me and checking everything was safe :lol:

Image

Image

Image

Image

Image

Image

and sorry about this one couldnt resist :lol:

Image

then it took me 2 and half hours to separate the engine from the gearbox/subframe so i could fit everything thru the shed door....
1989 GTA V6 Turbo Grey
Megane R26 F1
Clio 197
User avatar
User

clee

Rank

Non Member

Posts

10431

Joined

Fri May 28, 2004 11:58 am

Location

Derbyshire


Has thanked: 54 times
Been thanked: 104 times

Postby clee » Wed May 29, 2013 3:54 pm

Well done Ced 8) Good job .
Now ...getting it back in ..........there is a trick or two :wink:Your small handed helper should come in handy though :lol:
PreviousNext


  • Advertisement

Who is online

Users browsing this forum: No registered users and 95 guests

Powered by phpBB ® | Renault' and 'Alpine' are trademarks of Renault S.A.S. or its subsidiaries and are used with kind permission of Renault France